
Silk PLA filament
I found this multi-color filament that I thought would make some interesting items with the colors that it had. When my wife saw it, she thought it was pretty and would make some nice stuff for her. I had some ideas for her and she had some ideas too. We were excited to see what our print would look like.
With a couple of designs in hand, I went to my slicer so we could print. I am using Ultimaker Cura for my slicer. I loaded the design, selected the recommended settings for PLA, and sliced it. I had printed a few items before with the filament that came with my printer and the recommended settings, so we thought we were in business.
Well, we were wrong and disappointed. The print would not stick; when it would stick, it would catch the print when the print head moved, or it would just spew out filament in a spider web ball of mess.
With those results, I pulled the print head apart to make sure it was clean. I leveled the bed and then re-leveled the bed to make sure. For the not sticking when I tried a print, the bed was cleaned, and glued (there was an article somewhere that I read telling me to use some glue to get adhesion. No luck with any of that.
Back to the slicer software and time to experiment with some of the settings for the print. Progress. I got a print to make it through the entire print without destroying the print, but the quality was not good.
So where to now? Well, back to the internet and more reading.
With a bunch of articles read, I came across a simplified article on settings to use for the Silk PLA that I was using. The article had more defined setting ranges to work with.
Here are some basic settings for printing with silk PLA filament on a 3D printer:
Extruder temperature: 215–230°C, or 220–225°C for faster printing (I went with 220C)
Bed temperature: 60–70°C (I went with 65C)
Print speed: 40–45 mm/s for smooth, crisp prints (I went with 40mm/s)
Armed with this new information, I set my settings, sliced, and set the printer to work.
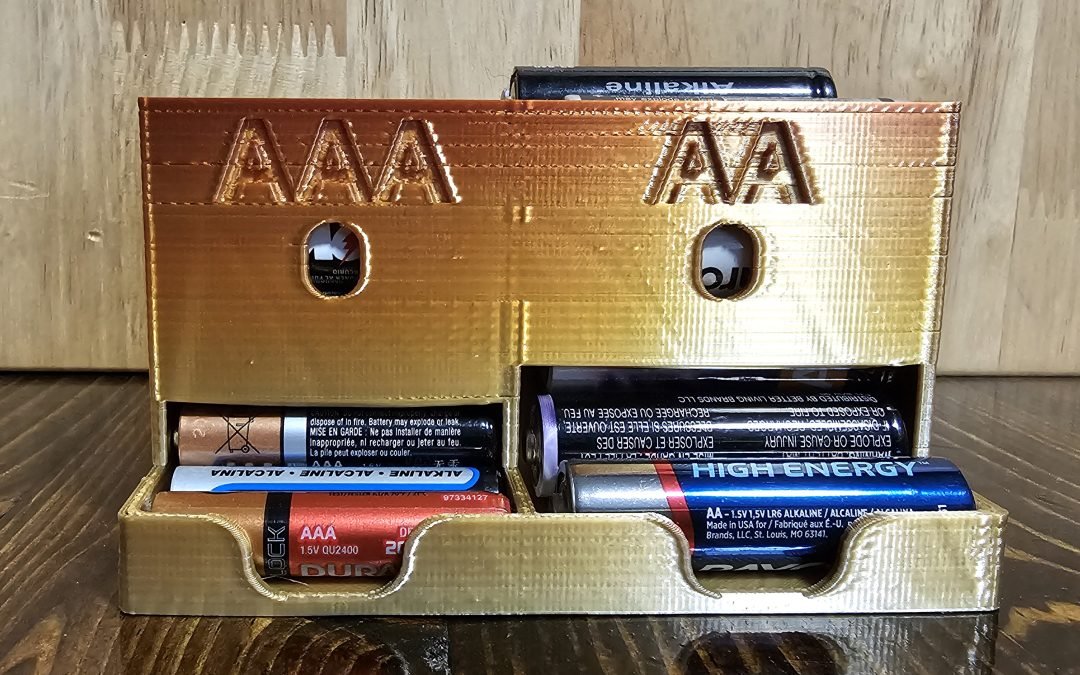
Success. I have a decent-quality print. Some tweaks are needed to get it to perfect print but I am pretty happy with the way it turned out.

